How to properly measure stairs: a detailed step-by-step guide
A comprehensive room survey guide to determine exact structural parameters for seamless stair installation and safety
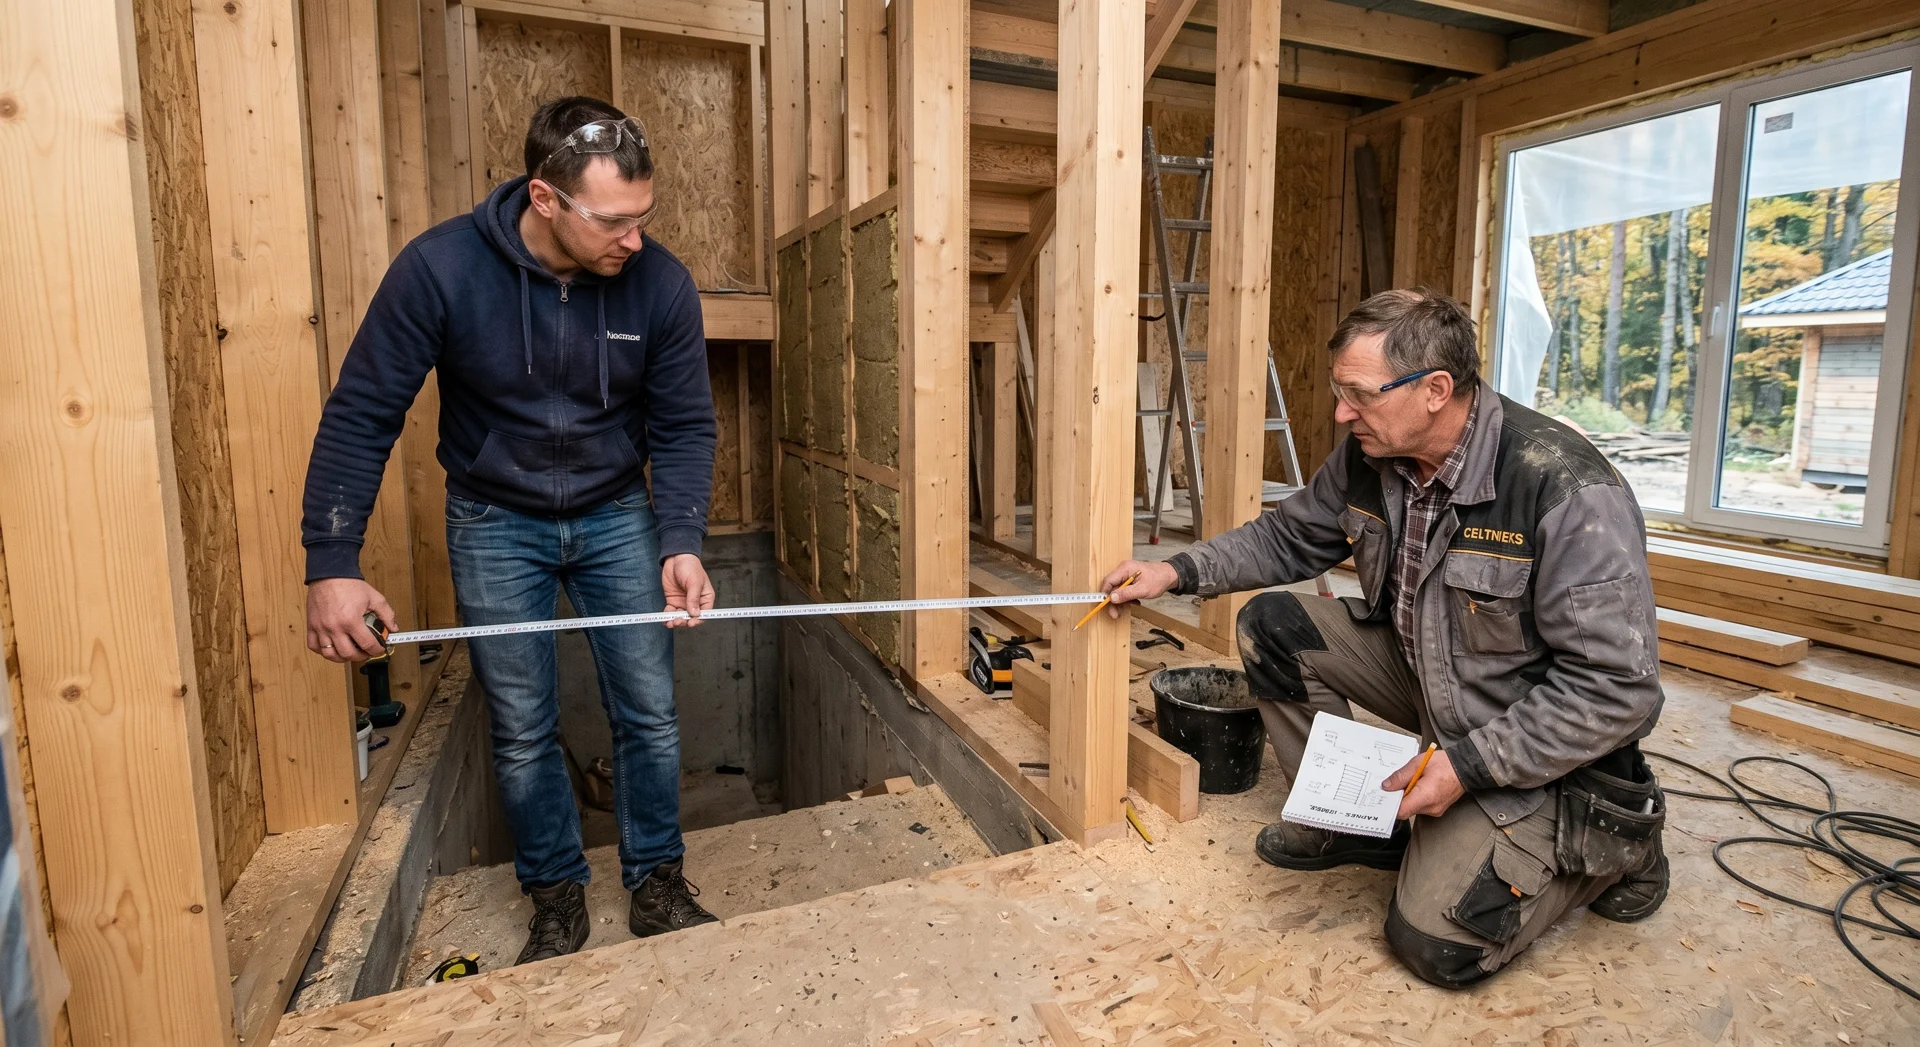
Staircase engineering and manufacturing are meticulous processes that start with millimeter-precise measurements. Inaccurate initial dimensions lead to awkward riser heights, safety hazards, or stair units that simply will not seat into position. In this guide, the joinery team at Soul in Wood outlines how to take exact site measurements on your own.
In fine architectural joinery, a minor discrepancy in baseline dimensions fundamentally alters the finished slope. Measure steadily, verify your levels, and always measure twice.
Essential tools for taking measurements
Step-by-step measuring procedure
Identify the exact staircase footprint
Pinpoint the exact floor zone where the staircase will sit. Ensure your proposed run clears swing radiuses for doors, window frames, heating distribution pipes, and adjacent traffic corridors.
Draft a dimensional floor plan sketch
Sketch an overhead footprint and vertical section of the space. Clearly locate surrounding structural walls, ceiling openings, window sills, and utility connection points.
Measure finished floor-to-floor height
Measure the true vertical distance from the lower finished floor surface directly up to the upper finished floor surface. Take this reading in 2–3 spots across the opening to account for ceiling and floor variances.
Measure available horizontal run
Measure the maximum clear horizontal floor distance available along the intended path. This value governs the total stringer span and the feasible tread depth (run) for each step.
Mark starting and landing coordinates
Mark light pencil benchmarks on the wall indicating where the nose of the lowest starter tread will rest and where the top tread will interface with the upper floor structure.
Verify floor and wall levelness
Check the floor with a 1.5–2m spirit level where the staircase feet will land. Inspect wall plumbness and corner squareness (90° angles), which dictate whether wall-mounted stringers need shimming.
Calculate stair angle and pitch
Determine the proposed pitch angle between the stringer and the floor plane using a digital protractor or trigonometry ($2\text{ riser} + 1\text{ tread} = 600\text{–}640\text{ mm}$). Ideal comfortable indoor stairs maintain a slope between 30° and 38°.
Master craftsman guidelines for reliable outcomes
• Record each dimension at least twice at different intervals or wall segments to cross-check accuracy.
• Measure directly from finished structural wall planes rather than baseboard mouldings to avoid skewed readings.
• Maintain at least 2000 mm of clear vertical headroom measured from every tread nosing up to the ceiling opening edge.
• Immediately log all readings onto your drafted sketch to streamline communication with the joinery workshop.
At Soul in Wood, we engineer architectural-grade metal stair structures combined with custom solid hardwood stair treads. This system unites the rigid structural load profile of precision steel with the organic beauty of solid oak, ash, or elm. Our team manufactures each installation strictly to your bespoke architectural layout. Contact us today to arrange professional site survey and consultation.